


Night City
 Olympus PEN E-PL10
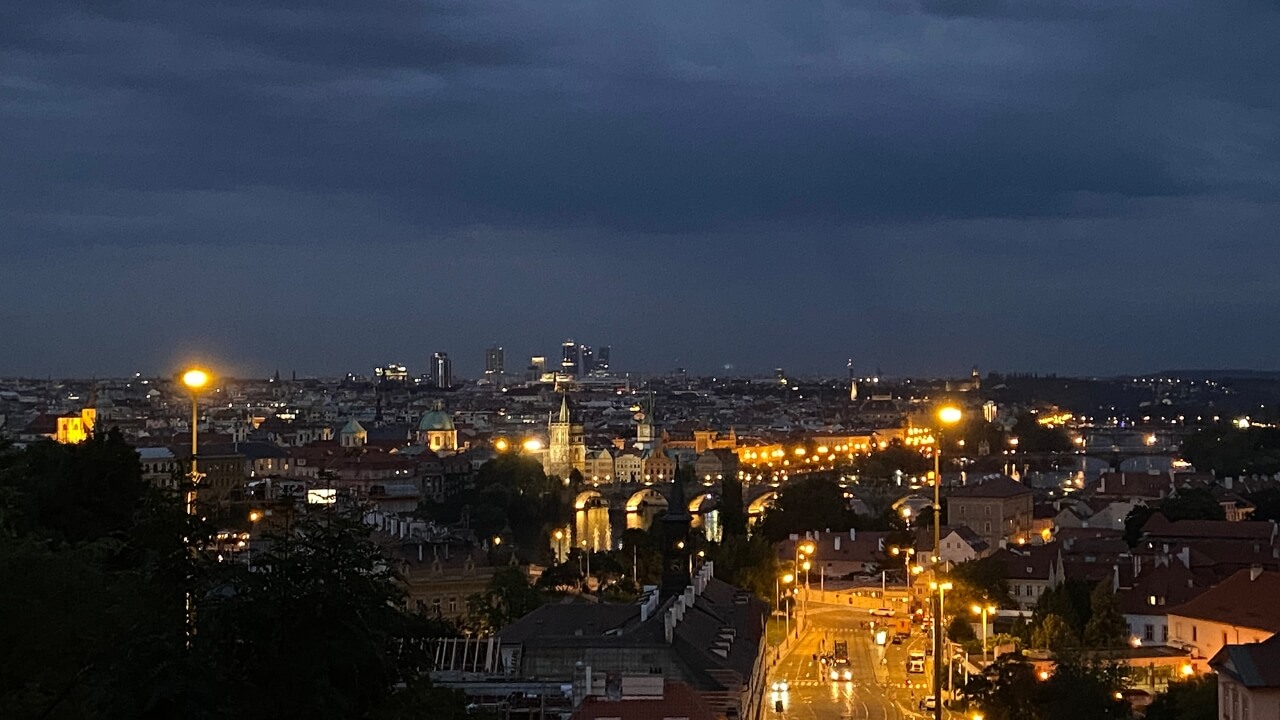
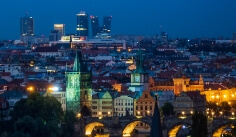
ISO 200, f/5.6, 1s, photographed using a tripod
 Apple iPhone 11
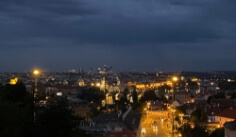
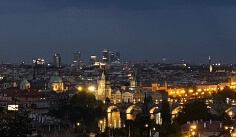
night mode (ISO 800, f/1.8, 1/20s), photographed using a tripod
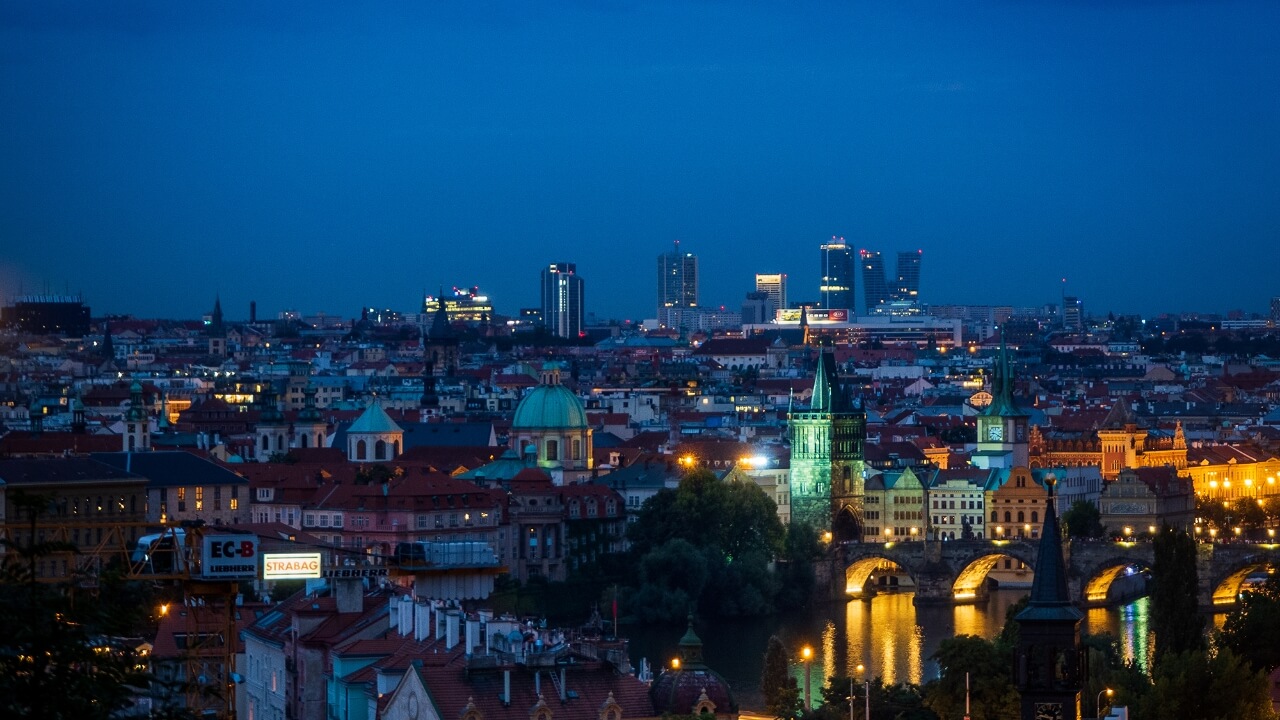
Olympus PEN E-PL10 (14–42mm f/3.5–5.6) / Night City
Night photography is significantly different from ordinary daytime photography. The main difference lies in the long exposure time, which in some cases can last several tens of seconds. It always depends on what you are taking a picture of and under what lighting conditions. By keeping the shutter open longer, the sensor can capture light for a longer period of time and, as a result, capture more detail. The amount of light also strongly depends on the size of the sensor (more precisely the size of its light-sensitive points). At the moment, the advantage of SLRs is obvious - their sensors are many times larger than the sensors of mobile phones, which is reflected in the quality of photos.
Working with a long exposure time requires special shooting methods. A photo taken in this way is very prone to blurring. In order for the sensor to capture a sharp image, you must present it with a completely static scene. This means that you cannot shake it or move it, not even ever-so-slightly, otherwise the entire image is going to be out of focus. If a moving object enters the images, only the object is going to be blurred. This can sometimes lead to a very interesting photography effect. It could be for example headlights of passing cars as light lines or "drawing" with lights (sparklers, candles, flashlights, etc.).
Ensuring that your camera is firmly supported is crucial for capturing a high-quality, long-exposure image. Shooting handheld is out of the question, you are going to need a tripod. However, even that might prove to be problematic, because you can easily move the camera when you press the shutter-release button. It is therefore better to use a remote control or a timer.
How Did We Photograph the Night City?
Because we took pictures of the city, and it looks impressive especially when using a larger focal length (with more zoom), we chose the longest lens available. At the same time, however, we set the lowest aperture. We left ISO at 200 to avoid unnecessary image noise. All that was left was to set the shutter speed - one second gave us an exposure suitable for capturing the scene in great quality
Principles of Shooting Night Photography
If you decide to take pictures at night, find a suitable place and remember the following important points:
- Use a robust tripod - Not all tripods are created equal. You always want to use a tripod that is solid, and that's not all. Some may get knocked over by the wind. If you want to take pictures at night, don't be afraid to invest in a good tripod, it can last you for decades.
- Take pictures with a long exposure time - We explained this above. Long exposure times ensure that the sensor can pick up light longer. In this way, the scene will appear significantly brighter in the photo than what the human eye can see.
- Try to use low ISO - This applies to all photos in general. The lower the ISO, the better - you get better photos. Although some situations require higher ISO values, a night scene which can brightened with a slower shutter speed is not one of them.
 iPhone 11
night mode (ISO 800, f/1.8, 1/20s), photographed using a tripod
 iPhone 11
night mode (ISO 800, f/1.8, 1/20s), photographed using a tripod
 Olympus PEN E-PL10
ISO 200, f/5.6, 1s, photographed using a tripod
 Olympus PEN E-PL10
ISO 200, f/5.6, 1s, photographed using a tripod